

Turn phone footage into a reel: the ten-minute edit
Trim, split, cut to the beat, one caption line, export. The order we edit in, the tools worth learning first, and the settings that decide whether a clip looks sharp when it lands.
Most reels are not lost in the edit. They are lost in the hour before it, while somebody decides which of forty clips to open. So the edit we teach is deliberately narrow: one project, a handful of tools, and a finished video in about ten minutes.
Everything below sits in Edits, on the phone the footage is already on. We have cut hundreds of reels this way and the order matters more than the tools do.
What goes on the timeline first?
Open a new project with the plus icon and add your clips from the camera roll. Put them in the order you would tell the story out loud, before touching anything else.
We resist the urge to tidy each clip as we add it. Trimming before the running order exists means polishing a shot you are about to delete, and it is the single biggest time sink in a phone edit.
Which two tools do the real work?
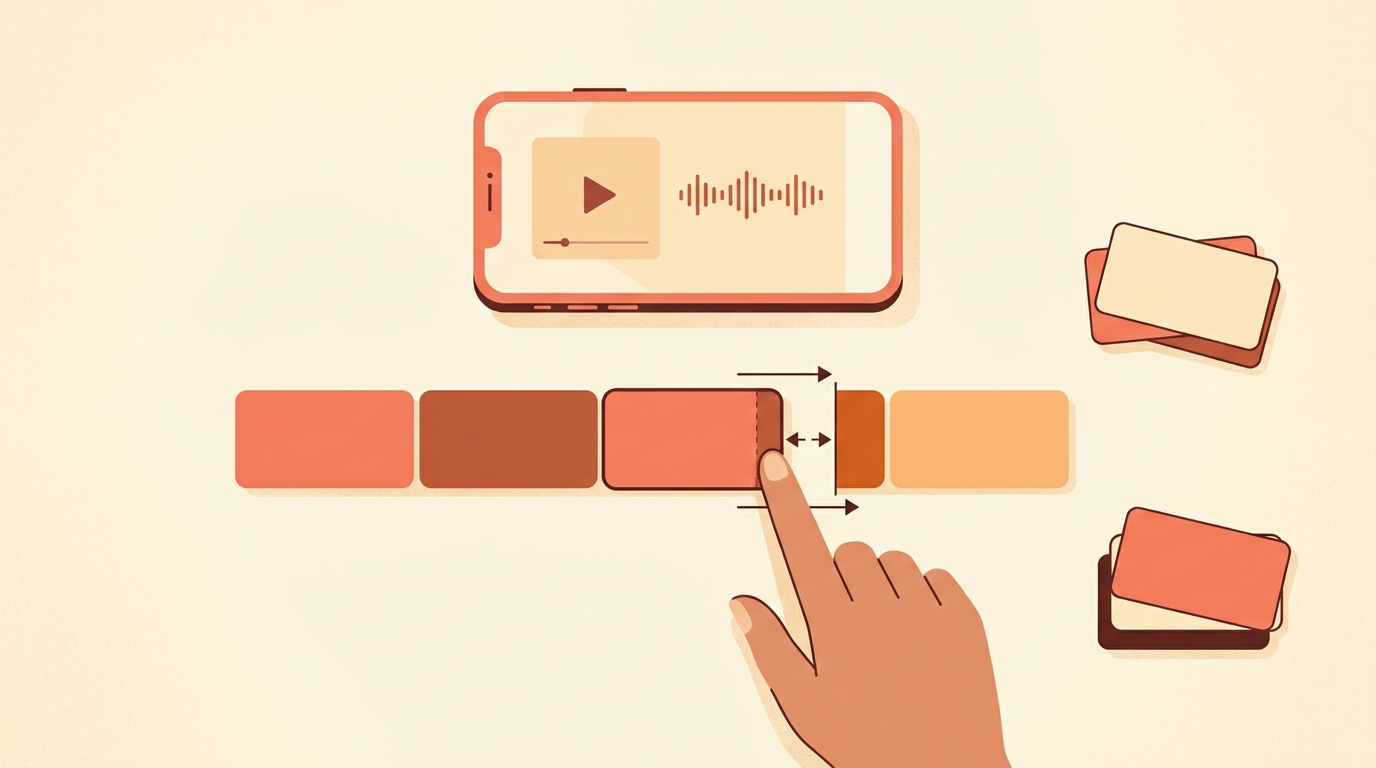
Trim and split, and almost nothing else. You trim by dragging the edges of a clip to shorten it. You split by putting the playhead where you want the cut and tapping the split button, which is also how you remove a middle section: split, then delete.
Once the running order and the trims are right, the reel is essentially finished. Everything after this is decoration, and decoration on a badly ordered reel does not help.
How do you cut to music without counting?
Add the track from the library first, then use beat markers, which auto-detect where the beats land in your audio. The markers appear on the timeline and your cuts snap to something real instead of to your sense of rhythm.
We would not cut on every beat. A cut every four beats reads as intentional; a cut on every one reads as a trailer for something. Sound effects are worth a mention too: one on a transition, not on all of them, is the difference between polish and noise.
What about captions and text?
Captions generate automatically and come in a range of styles, which is enough for most reels. We pick one style and keep it across every post, because a caption style that changes each week is a small way of telling people this is a different account.
There are over 250 fonts and more than 50 animation effects available for text on top of that. We use almost none of them. One font for captions, one for the occasional on-screen line, and the animation left alone unless the text is the joke.
- Put the keyword you want commented on screen, not only in the caption. People type what they see.
- Keep text out of the very top and bottom, where the interface sits over it.
- Read the reel with the sound off before you export. If it makes no sense, the captions are doing too little.
Do colour and effects matter this early?
Less than people think. Filter presets can be browsed and their intensity adjusted, and the adjust tools handle brightness, contrast and saturation. For a first reel we would set brightness, leave everything else, and move on.
The exception is consistency. If you pick one filter and use it on everything, your grid starts to look like one publication rather than a camera roll, which is worth more than any single clip looking cinematic.
We keep one more rule about colour: fix it on the source, not in the edit. A clip shot into a window will not come back, however far you push the sliders, and ten seconds of moving before you film saves the two minutes of dragging afterwards.
What settings do you export with?
Export from the button in the top right, and the ceiling is up to 4K resolution, 60fps and HDR. Sharing straight out to a reel keeps the quality the app intended rather than sending it through a download and a re-upload.
That said, a sharp video of a weak idea is still a weak idea. We would spend the last two minutes rewatching the first three seconds instead of raising the export settings.
The best editing decision is usually a shorter reel.
How do I cut part of a clip out?
Split the clip at the start of the section you want gone, split again at the end, then delete the middle piece. Trimming only shortens from the edges.
What are beat markers?
They auto-detect where the beats land in your audio and mark them on the timeline, so your cuts line up with the music instead of with your guess.
How many fonts are available?
Over 250 fonts and more than 50 animation effects, though we would use one font consistently rather than a different one each week.
What quality can I export at?
Up to 4K resolution at 60fps, and HDR, either straight to a reel or as a download to your camera roll.
How long should the edit take?
About ten minutes for a simple reel if you set the running order first. Most of the time people lose goes into polishing clips they later delete.
When the reel lands and the comments start asking where to get it, Instoly sends each of them the link, so the ten minutes you saved stays saved.
The takeaway
Order the clips, trim twice, cut on the beat, one caption style. Everything after that is decoration.
Sources
Built for Instagram creators.
Instoly answers comments on your posts and reels with an automatic DM, through Instagram's official API. It also gives you a Store for the link in your bio, AI Studio for captions and try-on, and invoices built from your posts. The free plan includes 1,000 DM & comment credits a month.
Start free